Mastodon has been around since 2016, but not until recently has it emerged as a popular alternative to Twitter. Like Firefox, Mastodon is open-sourced, so it’s built on a foundation of transparency and accessibility to all. It’s also decentralized, which means it’s powered by different communities and doesn’t answer to one entity or a bunch of stakeholders.
An open-sourced, decentralized social media platform? Music to our ears. But here’s the catch: It doesn’t operate like other mainstream social media platforms, so it might take some time to get used to. Here’s a quick starter guide to help.
Twitter vs. Mastodon
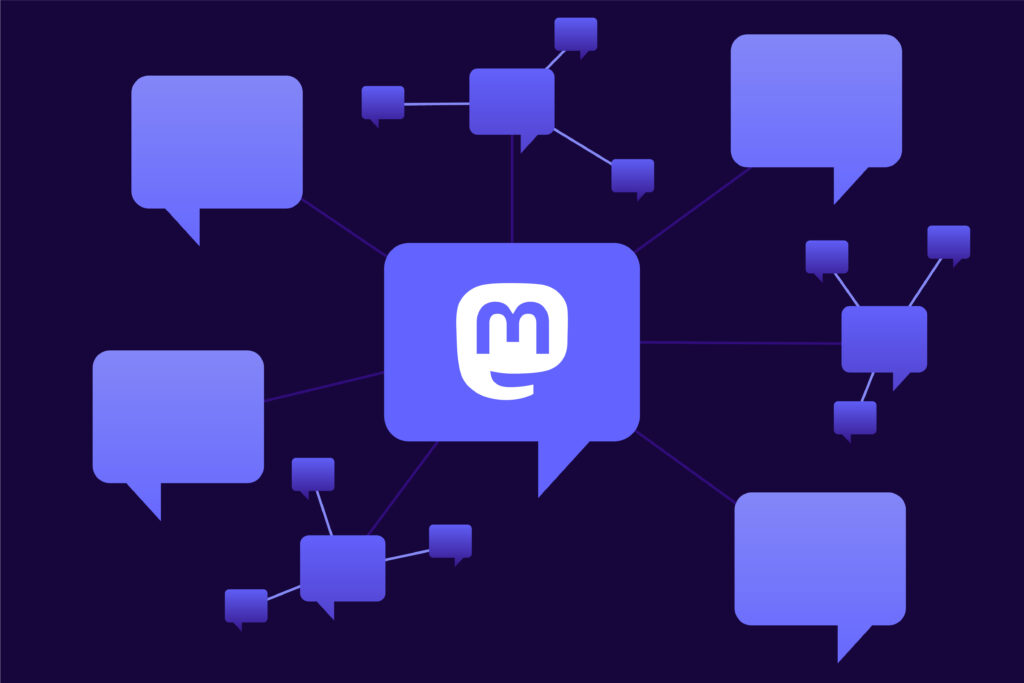
Like Twitter, Mastodon is a microblogging platform. Instead of having centralized control, it operates as an interconnected network of servers, each of which has its own standards and protocols.
As Mastodon explains it, the platform works like email accounts: You can choose to have a Gmail, Outlook or iCloud address. Where you write and receive emails depends on your server, but messages come in and go out regardless of which server you use.
To get started, follow these steps:
Step 1: Choose your Mastodon server
First, you need to pick a server (sometimes called “instances”). Each server has its own community where you can scroll through posts from other users within that server.
If you select a topic-based server like @mstdn.games, for example, expect to see some chatter about games in your local timeline. If you’re interested in more than one topic, you can join a general interest server like @mastodon.social.
Step 2: Read up on the rules
Hitting “Create account” under the server you picked will lead you to a page explaining that particular community’s moderator-enforced rules. Read them. If you agree, hit accept. Or look for another server that’s more your vibe.
Step 3: Set up your profile
So you’ve picked your community and have gotten the lowdown on the rules. It’s time to set up your profile. You’ll need to register with an email address and pick a display name, username and a password. Once you’re in, you can add a photo or avatar. Don’t forget to set up two-factor authentication under the Account settings.
Step 4: Check out your timelines
Similar to how a Twitter timeline works, the Home timeline displays posts from users you follow. Your Local timeline, on the other hand, shows posts from all the users in your server. The Federated timeline lets you see public posts from people across your server’s networks. For example, it will show a public post from a person followed by someone in your server. In addition to timelines, the Explore section lets you search for users and hashtags.
Step 5: Start posting
You can write your own posts, reply to others and boost or repost posts. You can also attach images, gifs and videos by hitting the clip icon (fedi.tips has some great pointers). You can even create a poll. Remember to post responsibly, and report users for any abuse or violations.
Now that you know the basics, it’s time to explore: Search for your interests and follow and connect with people. Take part in conversations.
For years, a small group of social media giants has ruled over the digital public square. With community-centered platforms like Mastodon, we can seek other ways to connect with each other online on our terms.